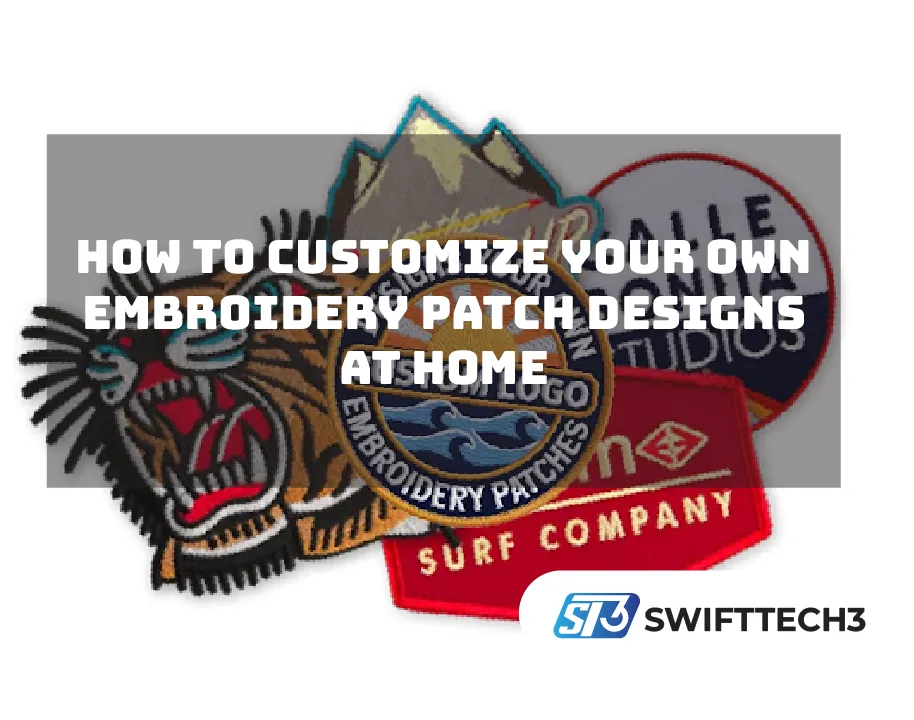
FastPrintStar embroidery patches have become a timeless way to express creativity, showcase identity, and personalize clothing or accessories. Whether you prefer bold illustrations, elegant monograms, or symbolic icons, making your own embroidery patches at home lets you craft designs that feel genuinely one-of-a-kind. There are two real paths to get there: hand-stitching with a hoop and needle, or using a computerized embroidery machine paired with digitizing software. This guide covers both, since the right choice depends more on your equipment and patience than any inherent skill gap.
Why Embroidery Patches Are Perfect for Creative Expression
Embroidery patches offer a genuine blend of artistry and practicality. They let you transform ordinary garments into custom pieces, giving your wardrobe a personalized touch without hand-stitching directly onto clothing — instead, you design freely, then place the finished patch wherever you want, on jackets, hats, bags, or home decor.
Two Paths: Hand-Stitching vs. Machine-Digitized Patches
If you’ve never made a patch before, it’s worth knowing upfront that these are genuinely different workflows, not just different skill levels of the same process.
| Hand-Stitching | Machine + Digitizing Software | |
|---|---|---|
| Startup cost | Under $30 (hoop, thread, needles) | $150–$900+ for software, plus the machine |
| Time per patch | 1–4 hours depending on complexity | Minutes to stitch, once digitized |
| Learning curve | Stitches learned in an afternoon | Digitizing software has a real learning curve |
| Best for | One-off, textured, hand-drawn designs | Repeatable, precise, logo-style designs |
| Output | Unique every time | Consistent, reproducible from a saved file |
Neither is objectively better — hand-stitching produces genuine texture and imperfection that reads as handmade, while a digitized, machine-stitched patch looks closer to what you’d get from a professional patch maker.
Making Patches by Hand
Essential Supplies
- Embroidery hoop, to keep fabric taut while stitching
- Fabric base — felt, twill, denim, or canvas all work well
- Embroidery thread in your chosen colors
- Needles sized to match your thread thickness
- Sharp fabric scissors for clean edges
- Backing material — iron-on adhesive, heat-seal sheets, or felt
- Tracing tools — transfer pens, carbon paper, or water-soluble markers
Step-by-Step
Start by sketching a simple design — flowers, initials, geometric shapes, or a small icon. If you’re new to this, begin small and uncomplicated. Transfer the outline onto your fabric base with a transfer pen or carbon paper, keeping lines visible but light enough to be covered by stitches. Secure the fabric tightly in your hoop so the surface stays smooth, which prevents uneven stitching. Then stitch using basic techniques — satin stitch, backstitch, chain stitch, or French knots — to fill shapes and add texture.
For clean results: use short thread lengths to avoid tangling, stick to two or three colors while you’re learning, and keep stitch direction consistent. Once stitching is complete, cut around the design leaving a small border, add your chosen backing (iron-on, sewn felt, or glue), and finish the raw edge with a blanket stitch or zigzag stitch to prevent fraying.
Making Patches with a Machine: How Digitizing Software Works
If you own or plan to buy a computerized embroidery machine, the actual bottleneck isn’t the machine — it’s the file. A machine can’t stitch a JPEG; it needs a stitch file (formats like .pes or .dst) that specifies every needle movement, stitch type, and color change. That conversion process is called digitizing, and it’s handled by dedicated software.
Three programs come up consistently for home users in 2026: Ink/Stitch, a free, open-source plugin for Inkscape, ideal if you’re on a budget and willing to learn vector-based design; Embrilliance, a modular program starting around $159 that runs natively on Mac (unusual in this category) and lets you buy only the features you need; and Hatch Embroidery, which runs $199–$899+ depending on tier and includes a genuinely capable auto-digitizer.
AI Is Changing How Digitizing Works
The most significant recent shift in this space is AI-assisted auto-digitizing. Traditionally, converting an image into a stitch file required a skilled digitizer manually mapping stitch paths by hand — a real, learned skill. Auto-digitizing features in Hatch and similar tools now use algorithms to convert a JPG or PNG into a stitch-ready file in a few steps, handling stitch type selection, underlay suggestions, and fabric-aware density settings automatically. It’s not a full replacement for manual digitizing — professionals still hand-edit auto-digitized files for best results, especially on detailed designs — but it’s made a genuinely difficult skill accessible to hobbyists who’d never have attempted it a few years ago.
Personal Experience: Where Beginners Actually Get Stuck
The most common mistake with digitizing software isn’t picking the wrong program — it’s expecting the auto-digitizer to produce a finished, ready-to-stitch file straight out of the gate. Auto-digitizing gets you most of the way there quickly, but complex designs with fine detail almost always need manual touch-ups to stitch density, color sequencing, or stitch direction before the result looks clean on fabric. Treating the auto-digitized output as a strong first draft, not a final file, saves a lot of wasted thread and fabric on a bad first run.
Creative Patch Ideas
Personalized initials and monograms make elegant additions to tote bags, jackets, or caps. Nature-inspired designs — flowers, leaves, mountains, celestial elements — add a soft, artistic touch. Minimalist icons like stars, hearts, or arrows are great for beginners on either workflow. Short statement phrases let you wear a personal motto or a bit of positive energy wherever you go.
Where to Use Your Finished Patches
Patches instantly upgrade denim jackets, jeans, hoodies, t-shirts, caps, and shoes. They also personalize accessories — tote bags, backpacks, laptop sleeves, wallets, and cosmetic bags — and extend nicely into home decor on cushion covers, fabric organizers, quilts, and table runners.
Styling Tips
Keep a consistent color theme across your patches and the item they’re going on for a more cohesive look. Combine large and small patches for a layout that reads as intentional rather than random, and layer patches for texture and visual depth on garments meant to look handcrafted.
FAQ
Do I need an embroidery machine to make patches at home?
No — hand-stitching with just a hoop, needle, and thread produces a fully finished patch. A machine and digitizing software are an optional path for faster, more precise, repeatable results.
What’s the difference between digitizing software and editing software?
Digitizing software converts an image into an original stitch file from scratch. Editing software takes an existing stitch file and lets you resize, recolor, or add lettering to it — they’re not the same tool.
Is AI auto-digitizing actually reliable for beginners?
It’s a strong starting point for simple to moderately detailed designs, but complex artwork typically still needs manual stitch-density and color-sequence adjustments for a clean result.
What file format do embroidery machines use?
It depends on the machine brand — common formats include .pes (Brother), .dst (Tajima, widely compatible), and .jef (Janome), among others.
Is Ink/Stitch a good option if I don’t want to pay for software?
Yes, for budget-conscious users willing to learn — it’s free and cross-platform, though it has a steeper learning curve than paid options like Embrilliance or Hatch.
Final Thoughts
Customizing embroidery patches at home is fun and genuinely rewarding, whether you’re threading a needle by hand or feeding a digitized file into a machine. With FastPrintStar, simple tools, and a little patience, you can transform fabric — or a flat image file — into a meaningful, wearable piece of art.