Picking a flyer size isn’t really about taste — it’s about matching a fixed set of print specs to a distribution method. Get the size, bleed, and finish wrong and you either pay more than necessary or end up with a flyer that looks amateur next to a competitor’s.
Standard Sizes and What They’re Actually For
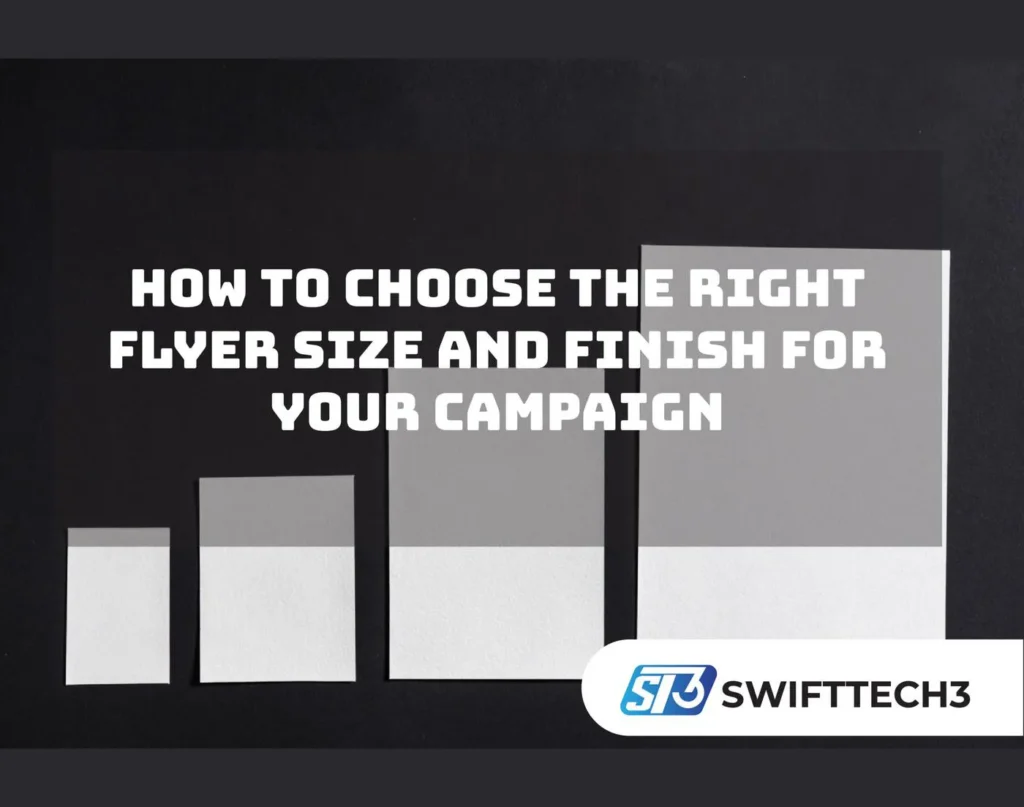
| Size | Dimensions | Typical Use |
|---|---|---|
| US Letter / A4 | 8.5″ × 11″ / 8.27″ × 11.69″ | Detailed content — menus, event programs, product info |
| Half-sheet / A5 | 5.5″ × 8.5″ / 5.83″ × 8.27″ | Handouts, direct mail — the most common all-around size |
| DL | 3.9″ × 8.3″ | Envelope inserts, single-offer mailers |
| Large format / Tabloid | 11″ × 17″ | Wall posters, in-store display, conference signage |
A5 tends to win on cost-effectiveness because it splits cleanly from a standard press sheet with minimal waste — that’s a production-cost reason, not just a design preference.
Finish Options and What They Actually Signal
- Gloss laminate intensifies color saturation and protects against handling marks — the default for full-color promotional flyers meant to grab attention fast.
- Matte finish reduces glare and reads as more premium in creative and service-industry contexts — better for text-heavy or formal content.
- Uncoated stock is the right call specifically when a flyer needs to accept handwriting, like event RSVPs or sign-up sheets — not a generic “budget” choice, a functional one.
The Software Layer Nobody Mentions
Flyer production isn’t purely a paper decision anymore — most of it now runs through design and print-automation software before a physical sheet exists. On the design side, AI-assisted tools (Canva, Adobe Express, and newer AI flyer generators) let a non-designer describe a layout and get a print-ready file at an exact pixel dimension without manual resizing or cropping — genuinely useful for small businesses that used to need a freelance designer for a one-off campaign. On the production side, automated print-and-mail platforms handle the part most people never think about: taking a design file, applying it across a mailing list, and routing it to print and postal delivery without manual per-piece handling. This overlaps with a pattern showing up across other physical-product categories too — see how AI design tools changed instant-quote ordering for custom patches, a similar shift from manual design-and-quote cycles to automated ones.
Personal Experience: Where Print Specs Actually Bite
The mistake that costs people money almost every time isn’t size or finish — it’s ignoring bleed. Bleed is the extra image area that extends past the trim line so a printer can cut to the final size without a thin white edge showing where the color didn’t quite reach the paper’s edge. Standard bleed is 0.125 inches on each side. Miss it, and a design that looked perfect on screen comes back from the printer with a visible white sliver around a background color or photo — a fix that costs a reprint, not a quick edit. The second recurring mistake: choosing a finish based on how it looks in a preview rather than how it’ll be used. A flyer meant to be scrawled on for an RSVP looks fine glossy in a mockup and is genuinely unusable in practice, because ink doesn’t take to a laminated surface.
Bleed, Trim, and the Specs a Print Shop Actually Checks
Every professional print job separates three measurements: trim size (the finished dimension a customer holds), bleed (the extra area beyond the trim line so color reaches the true edge after cutting), and safe area (the margin inside the trim line where text should stay to avoid being cut off). Getting these confused — building a design at trim size with no bleed — is the single most common reason a first print run comes back wrong.
If You’d Rather Not Manage the Print File Yourself
Bleed, trim, and finish specs are easy to get wrong on a first attempt, and getting them wrong means a reprint, not a quick fix. Working with a reliable printing service like HelloPrint shifts that technical setup — bleed margins, color profiles, stock selection — onto the print shop’s side, which is worth it for anyone running a one-off campaign without in-house design support.
Common Mistakes to Avoid
- Skipping bleed entirely, resulting in visible white edges after trimming.
- Choosing size before distribution method. A pocket-sized flyer for a wall display, or a large format piece meant to be mailed, both create avoidable cost and handling problems.
- Picking finish by appearance alone, ignoring whether the flyer needs to be written on, mailed, or handled repeatedly.
- Designing manually at odd dimensions instead of using standard sizes, which increases waste and per-unit cost at the print shop.
FAQ’s
What is the most popular flyer size for marketing?
A5 (half-sheet) is the most common overall — it balances design space, handling convenience, and print cost better than full-page sizes.
Which flyer finish is best for professional events?
Matte, generally — it reduces glare and reads as more polished for corporate or formal contexts, while gloss suits color-heavy promotional pieces meant to catch the eye fast.
What is bleed, and why does it matter?
Bleed is the extra design area beyond the final trim line — typically 0.125 inches — that lets color reach the true edge of the paper after cutting. Skipping it causes visible white edges.
Can I design a print-ready flyer without a professional designer?
Increasingly, yes — AI-assisted design tools can generate a layout at an exact pixel dimension for standard sizes, though complex branded campaigns still benefit from a professional pass.
Is uncoated paper a downgrade from glossy or matte?
No — it’s a functional choice, not a budget one. It’s the right call specifically when a flyer needs to be written on, like an RSVP card or sign-up sheet.
What’s the difference between trim size and bleed?
Trim size is the finished dimension after cutting; bleed is the extra printed area beyond that line, added specifically so the printer has margin to cut without leaving unprinted edges.
Actionable Takeaway
Before finalizing a flyer design, confirm three things with your print file, not just your eye: the exact trim size, a 0.125-inch bleed on every side, and a finish chosen for how the flyer will actually be handled — not just how it looks in a digital mockup.